3D Printing for Makers 2025: Practical Guide from Purchase to First Print
Discover how 3D printing will transform your workshop. From choosing a printer for $320 to thousands of practical projects - my experience after three years of use.

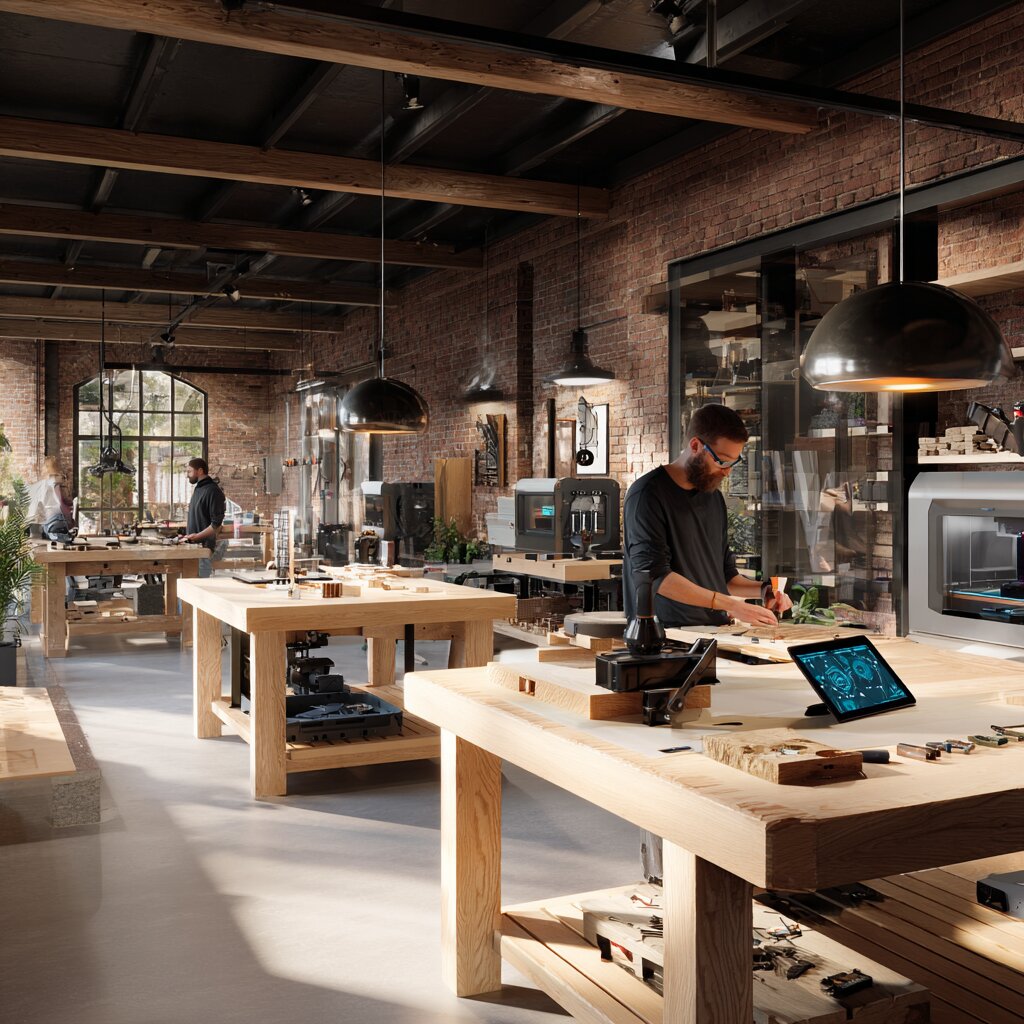
Three years ago I was like most makers - skeptical about 3D printing. "It's just a toy," I told myself. "What practical use could it have?" Today, when I look around the workshop, I see dozens of things printed on a 3D printer. From tool holders through replacement parts to prototypes of my own inventions.
Over those three years, I've saved at least $800 with 3D printing on various small items. And most importantly - I've saved a lot of time and nerves searching for replacement parts. When my vacuum's plastic clip breaks or I need a specific holder, I simply design and print it.
It's not rocket science. But there are a few things worth knowing before you get your first printer.
🎯 Why 3D Printing Makes Sense in a Maker Workshop
Real Benefits After Three Years
Replacement parts: I now print 80% of all plastic parts myself. No more waiting a week for delivery of a $6 plastic bracket.
Workshop organization: All my organizers, holders and boxes are custom designed. They fit perfectly and cost a few dollars in material.
Prototyping: I test a new idea within hours, not weeks. Make a mistake, adjust the design, print again.
Money savings: I save $20-32 monthly on average on various small items.
What 3D Printing IS NOT
- Not a replacement for traditional machining - you can't make metal
- Not a quick solution - each print takes hours
- Not as precise as CNC - tolerance ±0.2 mm at best
- Not free - material costs $24-48/kg
💰 How Much It Costs - Reality vs. Marketing
Basic Setup ($320 - 600)
Initial costs:
• Printer (Ender 3 V2): $320
• Filament starter pack: $80
• Basic tools: $20
• CAD software: $0 (Fusion 360 free)

Total: $420
Mid-Range ($600 - 1,200)
More comfortable option:
• Printer (Prusa MINI+): $600
• Enclosure: $120
• Various filaments: $160
• Upgrade parts: $80

Total: $960
Premium Setup ($1,200+)
For demanding users:
• Printer (Prusa MK4): $1,400
• Multi-material upgrade: $480
• Professional filaments: $320

Total: $2,200
Operating Costs (monthly)
- Filament: $12-32 (depends on usage intensity)
- Electricity: $6-12 (printer runs 50-100 hours)
- Wear: $4-8 (replacement nozzles, belts)
Total: $22-52 monthly with medium usage
🖨️ Choosing Your First Printer - My 2025 Recommendations
For Beginners: Creality Ender 3 V2 ($320)
Why I recommend it:
- Huge community (solutions to problems easily found)
- Cheap replacement parts
- Upgrade possibilities
- Reliable basic construction
Disadvantages:
- Assembly and calibration required
- Occasionally needs fine-tuning
- Smaller print volume (220×220×250 mm)
Who should buy this: Skilled makers who aren't afraid to experiment
For Convenience: Prusa MINI+ ($600)
Why it's better:
- Works "out of the box"
- Automatic calibration
- Excellent customer support
- Czech made (can visit production in Prague)
Disadvantages:
- Higher price
- Fewer customization options
- Long delivery times
Who should buy this: Makers who want to print, not solve technical problems
For Demanding Users: Prusa MK4 ($1,400)
Top features:
- Large print volume (250×210×220 mm)
- Input shaping (faster printing)
- Nextruder (simplified maintenance)
- Wi-Fi and camera
Disadvantages:
- High price
- Possibly overkill for beginners
My Choice and Why
I started with Ender 3 V2. I wanted to understand how 3D printing works. First 6 months I was learning and upgrading. Today I have almost a new printer for a total cost of $480.
After a year I added Prusa MINI+ for quick prints and reliable work. I use Ender for experiments, Prusa for "production".
If I were starting again: I'd go straight to Prusa MINI+. Would have saved myself dozens of hours of tuning.
🧵 Materials - What, When and Why
PLA - Basic Material ($20-32/kg)
Advantages:
- Easy to print
- Doesn't require heated bed
- Almost no smell when printing
- Wide color palette
Disadvantages:
- Low heat resistance (140°F)
- More brittle than other materials
- Susceptible to UV radiation
When to use: Prototypes, organizers, decorations, most indoor projects
My brands: Prusament ($36/kg), Gembird ($20/kg), SUNLU ($24/kg)
PETG - Universal Workhorse ($24-40/kg)
Advantages:
- Higher strength than PLA
- Heat resistance up to 175°F
- Transparent variants
- Food safe
Disadvantages:
- More complex to print
- Can behave "sticky"
- More expensive than PLA
When to use: Replacement parts, outdoor applications, mechanically stressed parts
ASA/ABS - For Demanding Conditions ($32-48/kg)
Advantages:
- High strength and durability
- Heat resistance up to 212°F
- UV resistance
- Chemical smoothing possible
Disadvantages:
- Needs heated chamber
- Strong smell when printing
- Tendency to warp
When to use: Car parts, outdoor applications, mechanical components
Special Materials
TPU (flexible): $48-72/kg
- Rubber seals, anti-slip pads
WOOD fill: $36-56/kg
- Decorations with wood appearance
Metal fill: $60-100/kg
- Heavy parts with metallic look
My Workshop Standard
80% of all prints: Prusament PLA Galaxy Black ($36/kg) 15% of prints: PETG clear or black ($32/kg) 5% experiments: Various special materials
🖥️ Software - From Idea to Print
CAD Software for Design
Fusion 360 (free for personal use)
Why I love it:
- Professional tools for free
- Parametric modeling
- Stress simulation
- Cloud storage
Disadvantages:
- Steeper learning curve
- Requires internet connection
- Possibly bloatware for simple projects
When to use: Complex projects, technical parts, professional appearance
Tinkercad (free, web-based)
Advantages:
- Extremely simple
- Works in browser
- Kids can master it in an hour
- Huge library of ready shapes
Disadvantages:
- Limited possibilities
- Only basic functions
- Not suitable for complex projects
When to use: Quick prototypes, beginners, simple adapters
FreeCAD (free, open source)
Pros and cons:
- Free and open source ✓
- All Fusion 360 functions ✓
- Stability sometimes problematic ✗
- Less intuitive interface ✗
Slicing Software (3D model to printer instructions)
PrusaSlicer (free, top choice)
Why it's the best:
- Works with all printers
- Advanced features (variable layer height, ironing)
- Regular updates
- Excellent presets
Cura (free, popular)
Alternative to PrusaSlicer:
- Wide printer support
- Large community
- Plugin capability
- Sometimes slower than PrusaSlicer
My Workflow
- Idea: Quick sketch in notebook
- Rough model: Tinkercad (5-10 minutes)
- Test print: Basic PLA, 0.3mm layer
- Optimization: Fusion 360 for final version
- Final print: PETG, 0.2mm layer
🔧 First Projects - Where to Start
Level 1: Ready Models (Day 1)
Where to find:
- Thingiverse.com - largest free database
- Printables.com - Prusa's own database
- MyMiniFactory.com - more curated content
My first prints:
- Benchy (test boat) - 30 minutes
- Screwdriver holder - 2 hours
- Screw organizer - 4 hours
Level 2: Simple Modifications (Week 1)
Skills needed:
- Size changes in slicer
- Basic editing in Tinkercad
- Combining multiple models
Projects:
- Modify holder for your specific tools
- Add text (name, labels)
- Change dimensions to your needs
Level 3: Own Projects (Month 1)
What to learn:
- Fusion 360 or FreeCAD basics
- Measuring existing parts
- Threads and connections
Projects:
- Replacement part specifically for your device
- Adapter between two incompatible parts
- Simple holder designed from scratch
💡 Practical Workshop Projects
Organization and Storage
1. Wall-Mounted Tool Holders
What you need:
- Your tool dimensions
- Fusion 360 basics
- PLA or PETG filament
Design time: 2-3 hours Print time: 4-8 hours Cost: $2-6 in material
Tip: Design modularly. One basic system, different inserts for different tools.
2. Drawer Organizers
My most used project. Standard organizers never fit exactly. Custom design uses every centimeter.
Parameters:
- Drawer height - 0.2" (clearance)
- Wall thickness: 1.5-2mm
- Corner radius: 2-3mm (prettier and stronger)
3. Magnetic Screw Boxes
Trick: Include space for 20×3mm neodymium magnet in bottom. Boxes stick to metal surfaces.
Costs:
- Filament: $0.60
- Magnet: $1.00
- Print time: 1 hour
Replacement and Improvement Parts
4. Vacuum Adapters
Problem: Never have the right adapter for dust collection system Solution: Print all possible combinations
Standard sizes:
- 1", 1.25", 1.4" (most common)
- Tapered transitions between them
- Reductions to common nozzles
5. Protective Covers
What to cover:
- Sharp edges of new tools
- Sensitive parts during transport
- Laser sights (eye protection)
Material: Prefer TPU for protection, PETG for strength
Aids and Templates
6. Gauges and Templates
Most useful:
- Angle template (15°, 30°, 45°, 60°, 90°)
- Hole gauge 3-20mm by 0.5mm
- Sheet thickness gauge (0.5mm to 5mm)
7. Guide Blocks
For repetitive work:
- Drilling guides at specific angles
- Blocks for serial cutting
- Templates for marking
⚙️ Practical Tips and Tricks
Design for 3D Printing
Minimum Dimensions
What fits:
- Smallest hole: 0.8mm
- Thinnest wall: 0.6mm
- Smallest text: 2mm height
- Connection tolerance: 0.2-0.3mm
Support and Orientation
Basic rules:
- Angles over 45° need support
- Bridges up to 20mm are OK
- Orient part for minimal support
My tip: Design so support isn't needed. Add chamfers, split complex shapes.
Speed and Quality Optimization
Layer Height
My standard:
- 0.3mm: Prototypes, hidden parts (fast)
- 0.2mm: Normal quality (universal)
- 0.15mm: Fine details (slow)
- 0.1mm: Only for special cases
Speed vs Quality
Speed profiles:
- Speed: 2-3 hours savings, 90% quality
- Quality: +50% time, 99% quality
- Draft: 50% time, 70% quality (prototypes only)
Common Problems and Solutions
Poor Bed Adhesion
Symptoms: Part detaches during printing Solutions:
- Clean bed (isopropyl alcohol)
- Set correct nozzle height
- Increase bed temperature (+5°C)
- Use brim or raft
Stringing (Web-like filaments)
Symptoms: Strings between model parts Solutions:
- Increase retraction
- Lower temperature (-5°C)
- Increase travel speed
Warping (Corner Curling)
Symptoms: Part corners lift up Solutions:
- Use enclosure
- Reduce first layer speed
- Add mouse ears (small anchors in corners)
📊 ROI - When 3D Printing Pays Off
Return on Investment Calculation
My Statistics Over 3 Years:
Investment:
- Printers: $920
- Material: $720
- Upgrades: $200
- Total: $1,840
Savings:
- Replacement parts: $1,120
- Organizers and holders: $480
- Prototypes (vs manufacturing): $600
- Total: $2,200
Net profit: $360 (not including time saved searching for parts)
ROI by Usage Intensity
Intensive user (10+ hours/week):
- Payback: 12-18 months
- Main benefit: Time and availability
Medium user (3-10 hours/week):
- Payback: 2-3 years
- Main benefit: Replacement parts
Occasional user (weekends):
- Payback: 4+ years
- More hobby than investment
When It's Not Worth It
Don't buy a printer if you:
- Don't have permanent space for printer
- Don't plan to learn CAD software
- Only need metal parts
- Have budget under $600 total
- Expect miracles in first week
🔮 3D Printing in Making - Future
2025-2026 Trends
Faster Printers
New technologies:
- Input shaping (vibration reduction)
- CoreXY kinematics (faster movements)
- Larger nozzles with better quality
Expected acceleration: 200-300% while maintaining quality
New Materials
What's coming:
- Easier printing with metal fillers
- Biodegradable plastics
- Carbon fiber composites
- Water-soluble supports
Price Reduction
Predictions:
- Entry printers under $200
- Quality filament under $16/kg
- Automatic calibration everywhere
Long-term Vision
3D Printing as Standard Tool
By 2030:
- Every workshop will have a printer
- CAD will be as easy as Word
- Replacement parts will be primarily printed
- Multi-material will be standard
Environmental Aspects
Positives:
- Less plastic waste (print only what you need)
- Local production (less transport)
- Recycling old prints
Negatives:
- Energy intensity of long prints
- Some filaments aren't recyclable
🎯 My Final Recommendations
Start Right
- Buy quality printer - save hundreds of hours of tuning
- Invest time in learning - 20 hours of CAD basics pays off thousandfold
- Start with PLA - then add other materials
- Join community - Facebook groups, Discord servers
Realistic Expectations
- First month: More frustration than joy
- Second month: Start understanding possibilities
- Third month: First truly useful projects
- Six months: Can't imagine workshop without printer
My Main Tip
Don't buy the cheapest possible printer. Those cheapest kits for $120-160 will only frustrate you. Rather wait, save $200 more and buy something that works reliably.
3D printing isn't a magic wand, but it's an incredibly useful tool. After three years of use, I can't imagine a workshop without a printer. It's like when you first bought a cordless drill - suddenly you see possibilities everywhere around you.
Start with a small project, be patient with learning, and you'll see it definitely pays off.

